


How to Install VPN on a Netgear Router
A VPN is a very popular tool that can help you stay secure and private online. VPNs have a lot of functionalities that help improve your online experience. It’s easy to get a VPN working on your computer, your phone, and your tablet because most VPNs have native apps for those devices. What if you want to extend that protection to your PS4, Xbox, or Smart TV? You would need to install a VPN on your router to do that. Routers don’t have native VPN apps, the require configurations to set up a working VPN connection. In this guide, I’ll show you how to set up a VPN onto your Netgear router. If you have a different router, you can read our general router guide here.
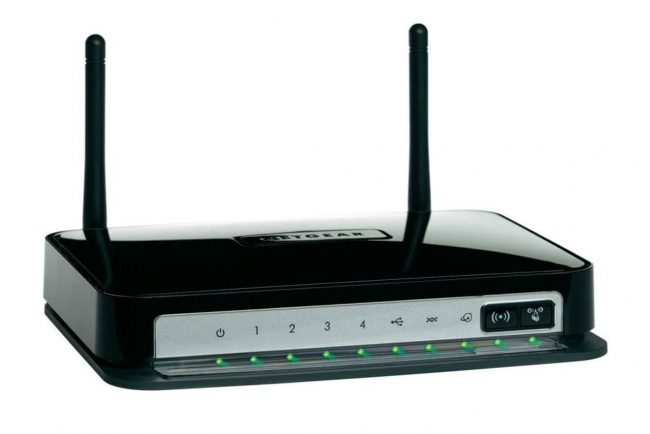
How to Install a VPN on your Netgear Router
Contents
Why Setup a VPN on your Netgear Router?
A VPN is a very handy cybersecurity tool that encrypts your data and re-routes your online traffic through a secure connection. In other words, a VPN is your safegaurd against surveillance and cyber-attacks. For that reason, you definitely want a VPN connection on all of your devices. The sad thing is that most VPNs only allow a limited number of simultaneous device connections. Setting up a VPN onto your router lets you bypass that and protect all of the devices that connect to your internet.
If you use a lot of devices on the regular or have a family you want to extend the online protection of a VPN to, installing a VPN on your Netgear router is the best option you have. Business owners can also benefit from installing a VPN onto their company routers. This way, you can make sure that all of your company data is protected and that your business isn’t risking a possible attack, like a DDoS attack.
Best VPN for Netgear Routers
As always, our VPN expert Charles has gone through the wide list of VPNs available on the market and selected the best VPNs for Netgear routers. His top pick was ExpressVPN, and it doesn’t take long to see why.
First, ExpressVPN supports OpenVPN protocols, which means that you configure the VPN client onto a long list of devices that don’t support native VPN apps. ExpressVPN also makes the installation process a lot easier by providing “apps” for Netgear’s most popular routers.
You can find detailed installation guides on the following models:
- Netgear R6300 v2
- Netgear Nighthawk R7000
If you have a different Netgear router or don’t want to subscribe with ExpressVPN, read the general installation process below.
How to Install VPN on Netgear Router – Step by Step Guide
To install a VPN on a Netgear router, you have to go through 2 main steps. The first one is to flash your router with DD-WRT.
That means that you’re going to have to change the original operating system of your router into DD-WRT. Why? Because DD-WRT can support a VPN, your router’s original OS cannot. If you have a router that already has DD-WRT setup on it, you can skip step one.
The second step is installing your VPN client onto your router. I will be using ExpressVPN to explain how to do that, but the process is the same for all of the VPNs that Charles suggested.
Step 1 – Flashing your Netgear Router with DD-WRT
As I said above, the first step is flashing your Netgear router. Not every router will be compatible with DD-WRT, but Netgear has a long list of models that are.
Caution: This process is a little technical, so you need to be careful. Installing DD-WRT is pretty straightforward, but you need to make sure that you download the correct firmware to use. Follow this guide on how to flash your router with DD-WRT to a T, and don’t forget to do your homework!
Take your time when you’re setting up for this step. Don’t be afraid to ask for help if you feel like you’re stuck figuring out the firmware you should get.
Step 2 – Installing a VPN Client on your Netgear Router
I am going to use ExpressVPN to explain this installation process. If you’re not using ExpressVPN, don’t worry. This process is roughly the same with all top-tier VPNs.
Preparing for Installation
- Log into ExpressVPN. Go to Setup ExpressVPN.
- Go to Manual Config and pick OpenVPN
- Download the .ovpn file.
- Go to your Netgear Router’s configuration. You can do that by typing in your router’s IP into your browser’s address bar. You can find the IP on the back of the router.
- You’ll find the DD-WRT control panel. Go to Services then click on VPN.
- Enable the Start OpenVPN Client option.
After you’ve done that, you’ll notice that there’s a list of fields you need to fill. You should fill the Server IP/Name, Port, TLS Auth Key, CA Cert, Public Client Cert, and Private Client Key.
Don’t worry, you have all of the information you need in the .ovpn file you downloaded earlier.
Technical Installation
- You need to open the file in a text editor application. You can simply use your PC’s notepad to do so.
- To find the Server IP/Name, look for the word “remote”. The line with an address followed by 4 numbers is what you want. The address will follow this pattern: XXXX.copythisaddress.com
- Copy the address in the middle.
- On the same line, you’ll find 4 numbers right after the address. That is your Port.
- After that, you want the information for the TLS Auth Key field. In the same file, look for .
- Scroll down a little and find
Copy the text between and . Start copying where it says “BEGIN OpenVPN Static Key” and stop after “END OpenVPN Static Key“. After you copy that, just paste it into the field on your router’s configuration page.
See how easy that was? This is the same process you need to do with the rest of the fields, but you’ll be looking for different tags.
- CA Cert field: Look for and
- Public Client Cert: Look for and
- Private Client: Look for and
After you’ve put all of the copied information into the appropriate fields, click on Save then click on Apply Settings.
Congrats! You’ve installed a VPN onto your Netgear Router!
To make sure that your VPN is working properly, go to Status then click on OpenVPN. You should see “Client: CONNECTED STATUS” in the status field.
How to Install a VPN on a Netgear Router – Final Thoughts
The truth is, installing a VPN on a DD-WRT Netgear Router isn’t difficult, but it does require your complete attention. If you follow this guide and read up on the resources I’ve linked to, you’ll be able to set up your VPN in 20 minutes! Don’t forget to do your homework before flashing your router, and make sure to follow your installation guides step-by-step.
